
 EN
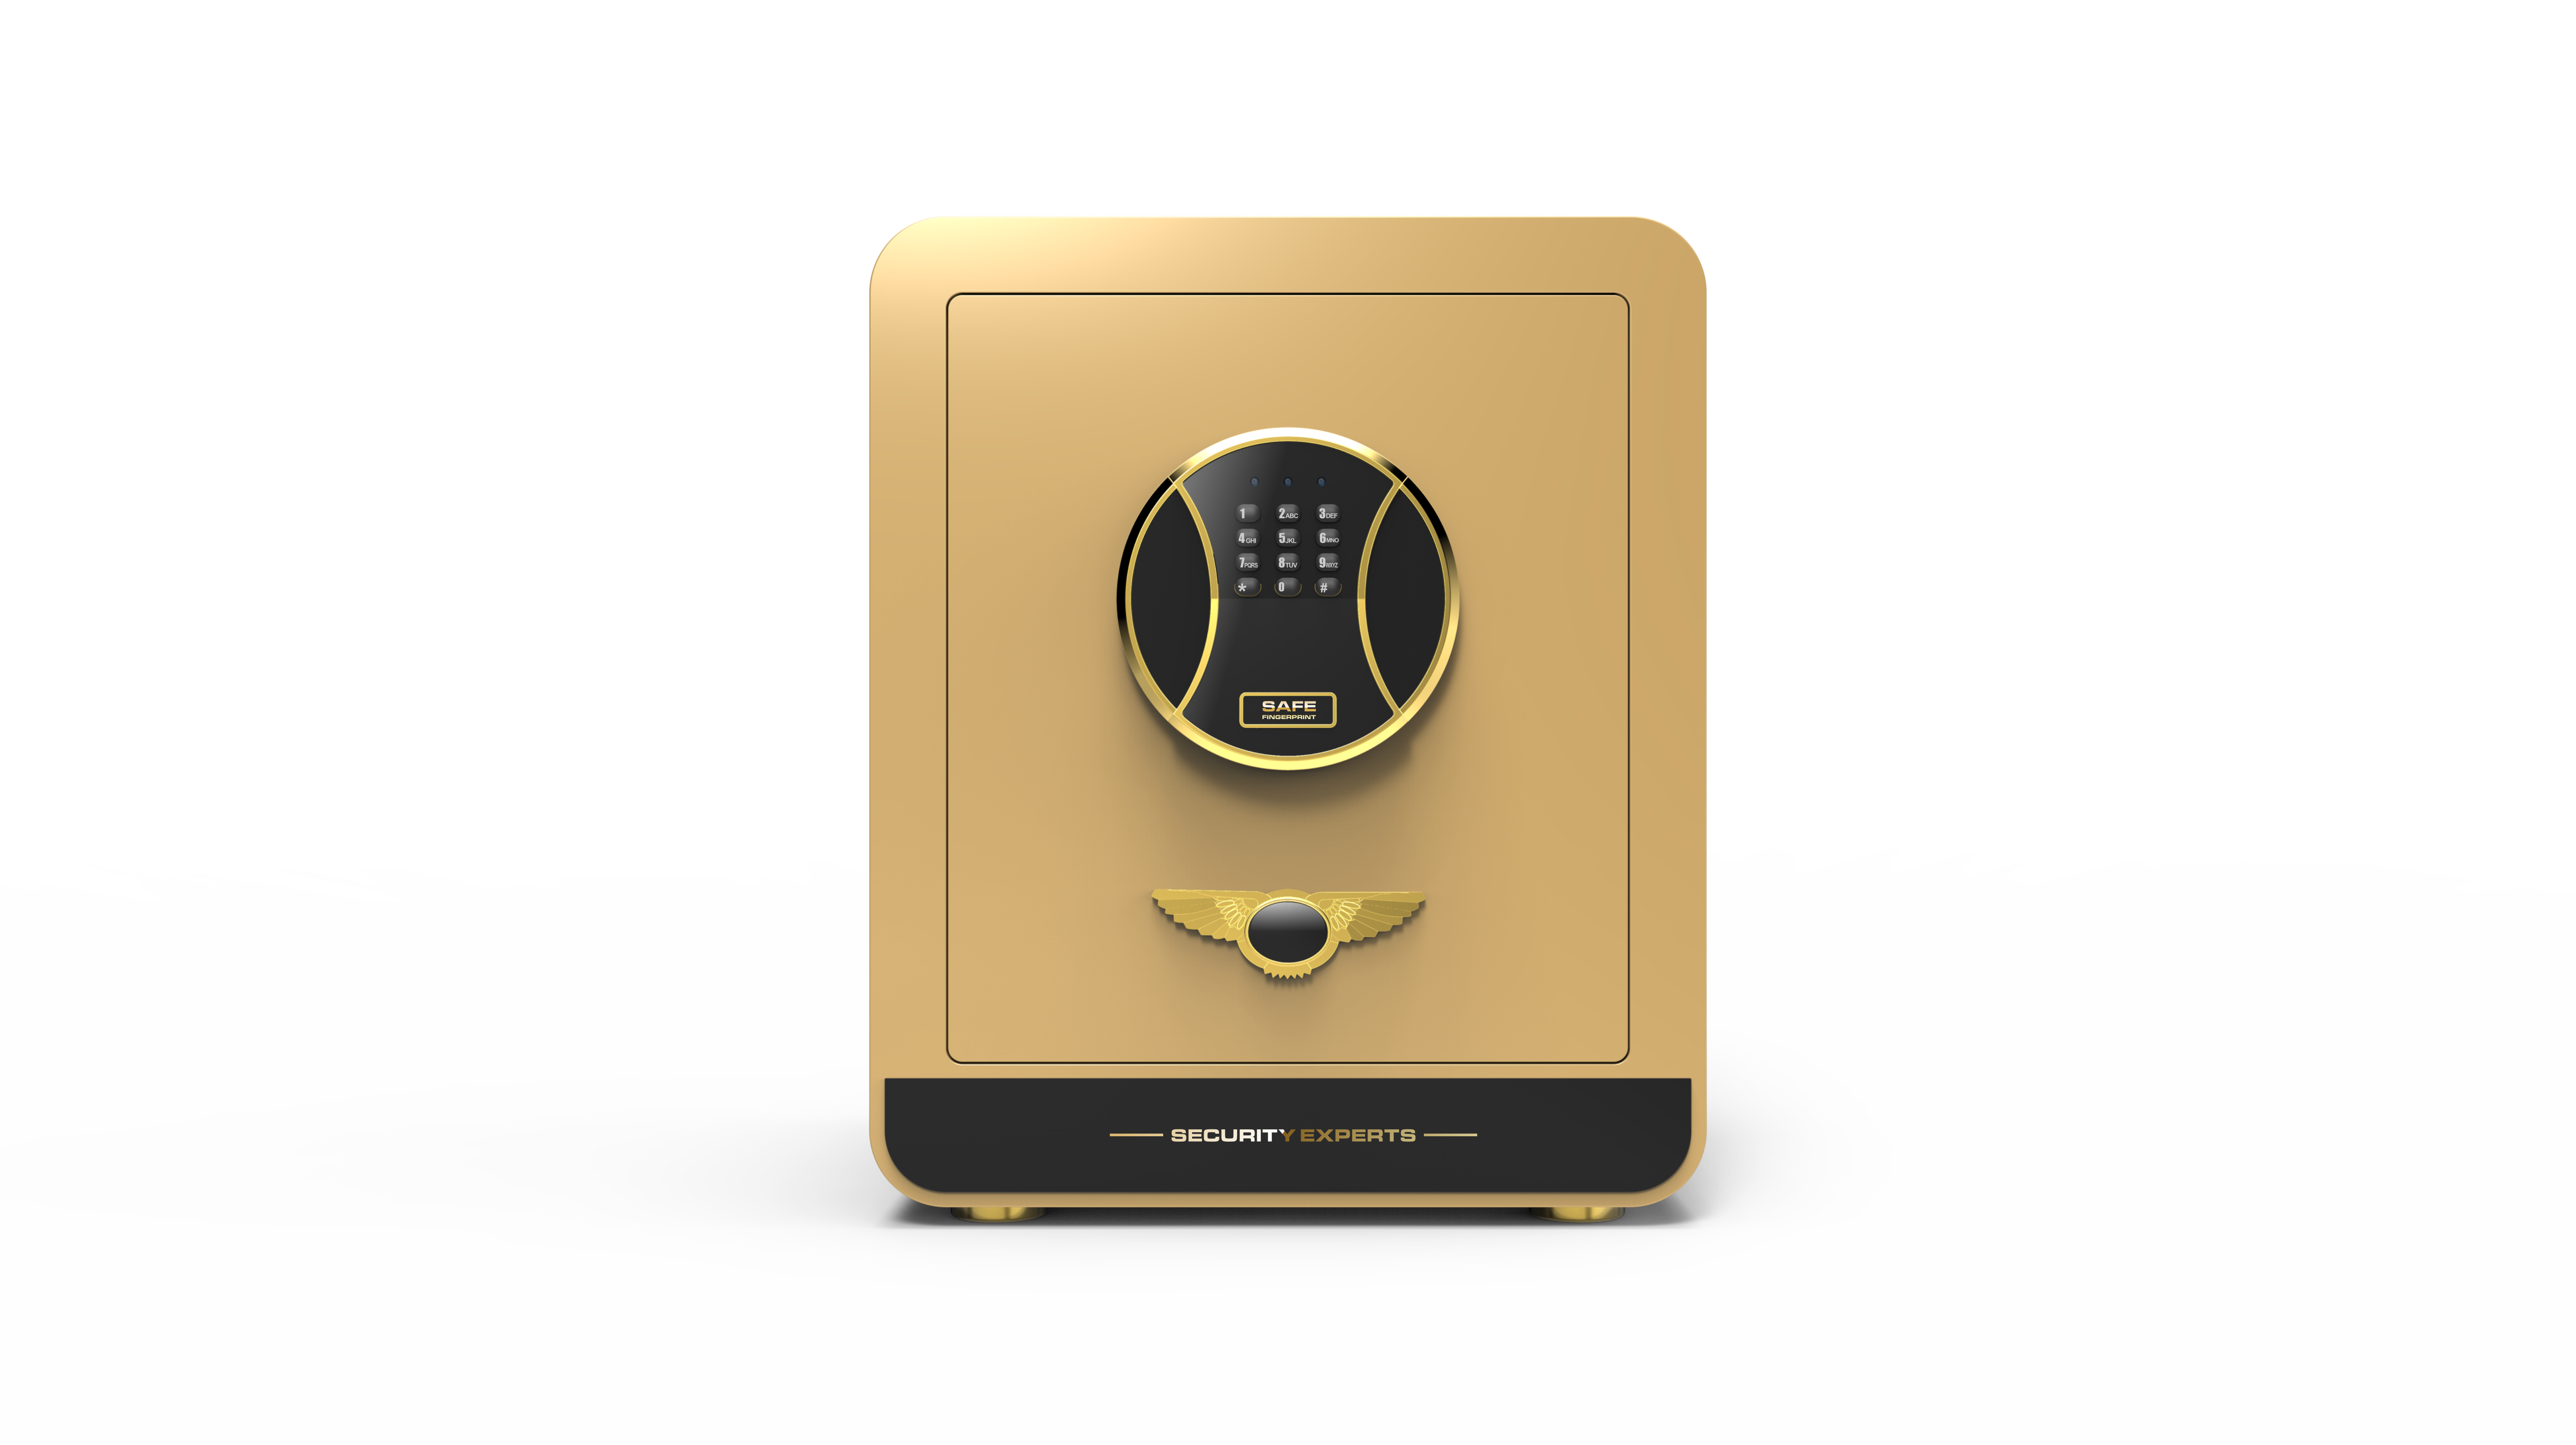
A locksmith called out to a branch office found a combination safe dial that had been drilled clean through. The cabinet was still locked, because a small spring-loaded device behind the lock had fired and blocked the boltwork on its own. The enclosure had done its job; the interesting part was what sat between the dial and the bolts. A combination safe is judged by that protected zone as much as by its steel thickness. Five structural details decide whether an attack on the code input leaves the door shut.
The protected zone behind the dial
On a combination safe, the code device is the most visible part, which makes it the most likely target. Its mounting decides what happens next.
When the input is the weakest link
A dial spindle or a keypad ribbon passes through the door, and that passage is unavoidable. What matters is what is behind it: a hardplate to resist drilling, a sleeve around the spindle, and a barrier between the input and the boltwork. For a combination safe, ask to see the lock mounting on a section drawing rather than on a finished sample, and check that any cut-out avoids a folded return or a load-bearing weld. A heavy duty combination safe keeps the code mechanism inside the defended envelope, with openings planned at the forming stage instead of drilled at the end of the line.
Five build details worth checking
Each combination safe detail can be seen on a sample or a drawing, and each changes what happens under attack or during a routine code change.
Hardplate and a sleeved spindle
On a combination safe, a drill-resistant plate behind the dial or keypad protects the lock body and the spindle where it passes through the door. Look for a continuous plate fixed to the door assembly rather than a small washer, and a sleeve that keeps the spindle aligned so the wheel pack or keypad connector is not loaded by the dial itself. Ask how the plate is retained and whether it can be serviced without disturbing the bolt cover. On a combination safe used in a shared area, this detail decides whether a drilled input is a nuisance or an open door.
Why a relocker acts independently
In a combination safe, a relocker is a spring-loaded trigger that fires if the lock is punched, drilled or pulled out, blocking the boltwork regardless of what the original code device does. Ask where it sits, what triggers it and how it is reset after a legitimate service. Check that it is mechanically independent of the dial and its own cable, otherwise a single impact can disable both. A relocker is not visible in a product photograph, so request a description in the drawing and a note in the service instructions. It is the reason a damaged input does not automatically mean a damaged cabinet.
Isolating the boltwork from the dial
On a combination safe, the code device should release the bolts, not carry their load. Look for a reinforced lock seat, a defined interface between the lever or solenoid and the boltwork, and rod guides that keep the bolts aligned with their strikes. Ask whether the bolts engage on the hinge side as well as the opening side. A UL 768 listing covers the combination lock as a component and says nothing about this interface, so request a documented cycle test for the assembled door. A combination safe that feels smooth on the bench can still bind after a thousand openings if the boltwork is doing the alignment work.
Where the change key enters
In a combination safe with a mechanical wheel pack, a change key is needed to reset the code, and the access point for it has to be reachable by an authorised person without exposing the wheel stack. On an electronic unit, the equivalent is the reset control and the override route. Ask whether the access point is behind the door, how it is covered, and whether resetting leaves a visible record. A change key hole drilled through a trim is a weak point and an invitation to improvisation. Put the reset procedure, the key custody rule and the drawing revision in the same handover sheet.
Flush panels, not a surface-mounted keypad
A control panel standing proud of a combination safe door catches on bags, trolleys and cleaning equipment, and it gives a lever to pull against. Look for a recessed or flush-mounted panel with a gasket, a covered cable passage and a connector that is strain-relieved inside the door. Check that cut edges around any passage are fully coated, with adhesion and corrosion results naming the method, such as ISO 2409 with ISO 9227 exposure. NFPA 70 applies where a powered keypad is wired in, and ANSI Z535.4 covers the label that explains code reset and override.
Documents that back up the structure
Standards separate the lock, the enclosure and the site, so the file needs more than one sheet.
Asking for reports that name the assembled door
A lock listing under UL 768 tells a buyer about the code mechanism only. Enclosure performance is a different file: UL 687, EN 1143-1, EN 14450 and UL 72 each address a distinct exposure, and the quotation should say which one applies. Look for ISO/IEC 17025 accreditation on the test house and the exact assembly revision on the report. Consistency of the hardplate across batches is an ISO 9001 matter; ISO 2859-1 covers sampling at goods-in. On site, OSHA 29 CFR 1910.176(b), NFPA 1, NFPA 101 and ANSI Z535.4 define the remaining duties, with REACH and RoHS for materials.
Inspecting the same points in service
Open the combination safe door and look at the lock mounting from inside: a continuous plate, an aligned spindle, a covered cable passage and no loose connector. Set a fresh code, open and close three times, then reset it and log the change against the operator ID. Clear grit from the dial or keypad surround, clean the seal with a mild detergent and repair finish damage along the folded return before rust takes hold. Check that the override key is still sealed where the handover sheet says it is. A heavy duty combination safe built on these five details keeps its code policy usable, which is the part a purely mechanical inspection tends to miss.
Frequently Asked Questions
Why does the spindle need a sleeve and a hardplate?
On a combination safe, the dial or keypad has to pass through the door, and that passage is the obvious target for a drill. A continuous drill-resistant plate behind the input protects the lock body, while a sleeve keeps the spindle aligned so the wheel pack or connector is not carrying the dial’s load. Ask to see the mounting on a section drawing and check that any cut-out avoids a folded return or a load-bearing weld.
What does a relocker actually do?
It is a spring-loaded device behind the lock that fires if the input is punched, drilled or pulled out, blocking the boltwork independently of the original code mechanism. Ask where it sits, what triggers it and how a legitimate service resets it. Check that it does not share a cable or fastener with the dial. A relocker is why a damaged input does not automatically mean an open cabinet.
Does UL 768 cover the boltwork interface?
No. UL 768 applies to the combination lock as a component. The lock seat, rod guides, strikes and the interface between the lever or solenoid and the bolts need their own documentation, ideally a cycle test on the assembled door. A smooth-feeling sample can still bind after a thousand openings if the boltwork is doing the alignment work.
How should code reset access be designed?
On a mechanical wheel pack the change key needs an access point that is reachable by an authorised person without exposing the wheel stack; on an electronic unit the equivalent is the reset control and override route. Look for a covered, recessed point rather than a hole through a trim. Put the reset procedure, key custody rule and drawing revision in one handover sheet.
Why is a flush control panel better?
A panel standing proud of the door catches on bags and cleaning equipment and gives a lever to pull against. Look for a recessed or flush panel with a gasket, a covered cable passage and a strain-relieved connector inside the door. Check that cut edges are fully coated, with ISO 2409 and ISO 9227 results naming the method. NFPA 70 applies to powered keypad wiring.
What should a service inspection record?
A fresh code set, three open-and-close cycles, a successful reset, and the date and name for each change. Look from inside at the lock mounting, clear grit from the dial or keypad surround, wipe the seal with a pH-neutral cloth and touch up coating chips at folded edges. Confirm the override key is still sealed in the location named on the handover sheet.