
 EN
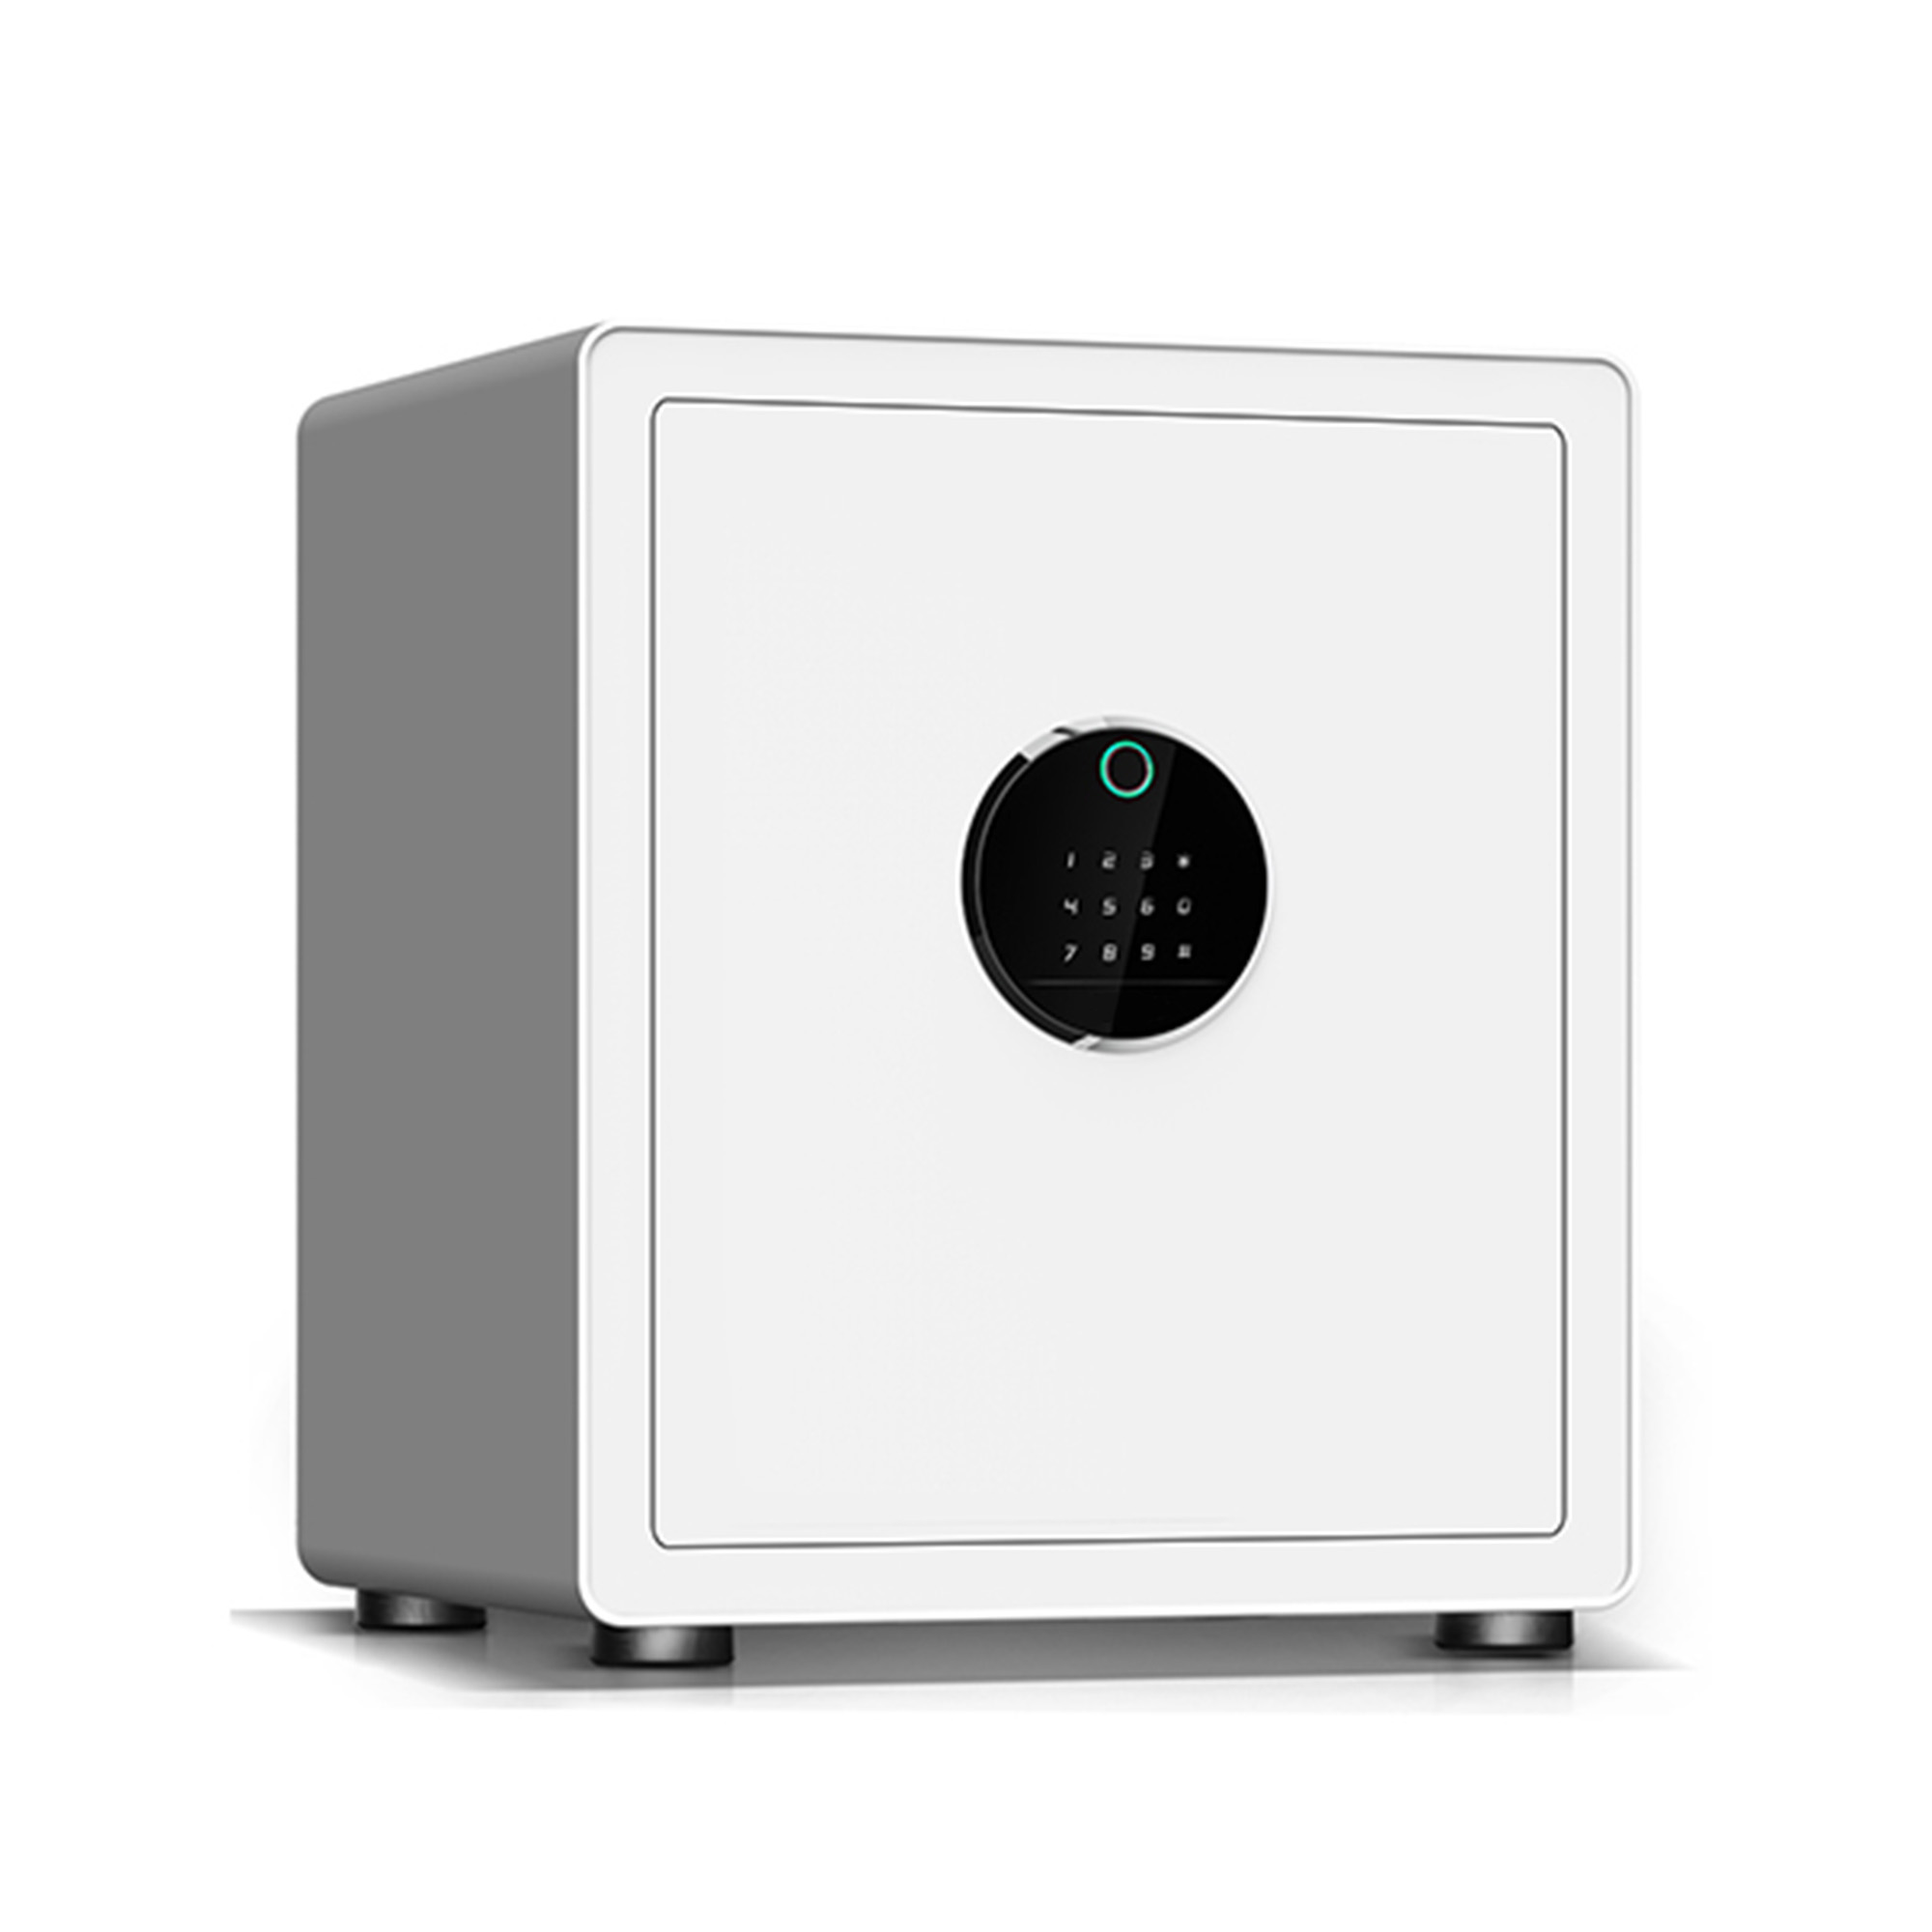
A fit-out contractor ordered hidden safe units for a new regional office after the partitions were drawn but before the services were coordinated. Half the specified cavities turned out to sit behind cable runs, and two were too shallow once the plasterboard and tile build-up were counted. The units were returned, the walls were patched and the programme slipped. A hidden safe is half product and half building detail, so sourcing it is really an exercise in agreeing a set of dimensions with people who never read the furniture quotation.
Where concealed projects slip
With a hidden safe, the awkward discoveries happen late, when changing a dimension means reopening a wall rather than editing a purchase order.
A cavity that was never measured
For a hidden safe, ask for a dimensioned recess drawing, not a nominal product size. The figure that matters is the finished clear depth after plasterboard, adhesive, tile or panelling, plus the flange thickness and any tolerance for the installer. Confirm the rough opening width and height and the direction the door swings. Check the stud spacing or masonry backing that the flange will bear against. A hidden safe specified from a catalogue width leaves the fit-out team to discover the difference on site, which is the most expensive place to do arithmetic.
Concealment mistaken for access
Placing a hidden safe behind a picture, a wardrobe panel or a false plinth is easy. Getting to it in a hurry, servicing the lock and replacing a cell are the parts that get forgotten. Ask how the door opens once the concealing element is in place, whether there is enough hand clearance for the handle or keypad, and who removes the cover when a code needs resetting. A hidden safe that takes twenty minutes to reach will be used less often than intended, and the cover will eventually be left off. Request a service-access drawing and put the cover detail into the same package as the cabinet.
Matching the box to the building
Once the opening is agreed, the useful hidden safe questions are about how the steel assembly sits in it.
Recess depth, flange and the fixing substrate
A hidden safe inset body usually carries a flange that overlaps the finished wall surface, both to conceal the cut edge and to spread the fixing load. Ask how wide that flange is, how many fixing points it has and what backing the wall needs at each one. Timber studs, masonry and a metal stud system all demand different fasteners, chosen by the installer rather than the factory. Check that the flange sits flat against the finish without pulling the frame out of square, since a twisted frame makes the door bind. Where a hidden safe is specified with a right- or left-hand door, confirm the handing on the drawing revision, not in an email.
Moisture, services and a flush door
A cavity holding a hidden safe in an external wall can be colder than the room, which means condensation on a steel shell and on whatever is stored inside. Ask about a moisture barrier, a sealed cable entry and a desiccant position, and put periodic airing in the user instructions. NFPA 70 is relevant to electrical services in the wall cavity, so the cabinet position should be signed off against the electrical layout before drilling. The door itself should sit flush enough to disappear behind the chosen cover, with no proud hinge knuckle to catch it. A hidden safe with a flush door still needs a rebated edge and boltwork that engages behind a thicker section of steel; looking discreet is not a substitute for resisting a pry bar.
Standards for an installed assembly
For a hidden safe, standards divide neatly between the cabinet, the concealment and the building, which is why a single certificate never settles a concealed order.
Reading EN 14450, UL 687 and NFPA 70 side by side
EN 14450 covers lighter secure storage units in S1 and S2 classes, while UL 687 and EN 1143-1 address higher burglary resistance under different test regimes. UL 72 addresses fire endurance classes for stored records, and UL 768 applies to combination locks. Ask which single standard applies to the model being quoted and request that report with the exact model code and the anchoring method used. NFPA 70 belongs to the electrical coordination in the wall, NFPA 1 and NFPA 101 to placement, fire loading and escape routes, and OSHA 29 CFR 1910.176(b) to handling heavy units on site before they are fixed. ANSI Z535.4 covers the user label, which should still be readable even when the cabinet is concealed.
Where ISO 9001 and a signed drawing protect the order
ISO 9001 is what keeps the recess depth, flange hole pattern and door handing identical across every unit in a multi-room fit-out; ask for a controlled drawing with a revision number and an inspection record from a real batch. ISO/IEC 17025 is the accreditation to look for on any external test report. Add REACH and RoHS declarations for the coating and any electronic lock, plus ISO 9227 and ISO 2409 results for the finish, since a flange edge inside a damp cavity is exactly where corrosion starts. Huawei Furniture, a Luoyang steel office furniture maker founded in 1992, builds to customer plans and samples with an in-house design team, which is the arrangement that lets a hidden safe recess drawing be agreed before the first partition is ordered.
A sign-off sheet before walls close
Put one hidden safe sheet in the fit-out package: the recess drawing with finished clear depth, rough opening, flange width, fixing point locations, door handing, cover detail, service access, cable entry and the revision number. Require signatures from the furniture supplier, the fit-out contractor and the electrical installer before the order is released. At delivery, compare the flange hole pattern and the door handing against the sealed sample, and keep one unit unwrapped for the site team to test in a mock-up. Record the fixing method used at each location. A hidden safe project that closes the walls only after that sign-off avoids the patch-and-return cycle, and gives the next floor a drawing that already works.
Frequently Asked Questions
Which dimension matters most on a concealed order?
For a hidden safe, the finished clear depth after plasterboard, adhesive, tile or panelling, plus the flange thickness and an installer tolerance. Nominal product width tells a contractor very little. Ask for a dimensioned recess drawing with the rough opening, door handing, swing direction and flange fixing points, then have the fit-out team confirm the stud spacing or masonry backing that the flange will bear against.
How should service access be handled?
Agree how the door opens once the concealing element is in place, whether there is hand clearance for the handle or keypad, and who removes the cover when a code needs resetting or a cell needs changing. Put the cover detail in the same drawing package as the cabinet and request a service-access sketch. Concealment that makes the unit slow to reach tends to leave the cover off permanently.
Does a burglary rating apply once the unit is built into a wall?
A rating is measured with the unit fixed in a defined way. UL 687 and EN 1143-1 address attack resistance, EN 14450 covers lighter secure storage in S1 and S2 classes, and UL 72 addresses fire endurance classes. Request the report with the exact model code and the anchoring method used, then check that the wall build-up can reproduce it. The flange fixing is part of that condition.
What should be coordinated with other trades?
The cabinet position should be checked against the electrical layout before drilling, with NFPA 70 relevant to services in the wall cavity. NFPA 1 and NFPA 101 concern placement, fire loading and escape routes. In an external wall, ask about a moisture barrier, a sealed cable entry and a desiccant position, since a cold cavity can produce condensation on the steel shell and its contents.
Who chooses the wall fixings?
The factory supplies the flange hole pattern, the fixing point locations and the recess drawing. The installer chooses fasteners for the actual timber stud, masonry or metal stud system and confirms there is backing at each point. Record the fixing method used at each location, and check that pulling the flange down does not twist the frame and make the door bind.
What belongs on the sign-off sheet?
Finished clear depth, rough opening, flange width, fixing points, door handing, swing direction, cover detail, service access, cable entry and the drawing revision number. Require signatures from the furniture supplier, the fit-out contractor and the electrical installer before releasing the order. At delivery, compare the flange pattern and handing with the sealed sample and test one unit in a mock-up before the walls close.